User Interface
This section introduces the Zipic interface for quick start.
Main Window
When you first open Zipic, you’ll see the main window divided into two parts:
- Left Sidebar: Contains action buttons, like a toolbar.
- Right Main Area: Shows the compression history list.
If there are no compression records, a default message appears.
Left Sidebar
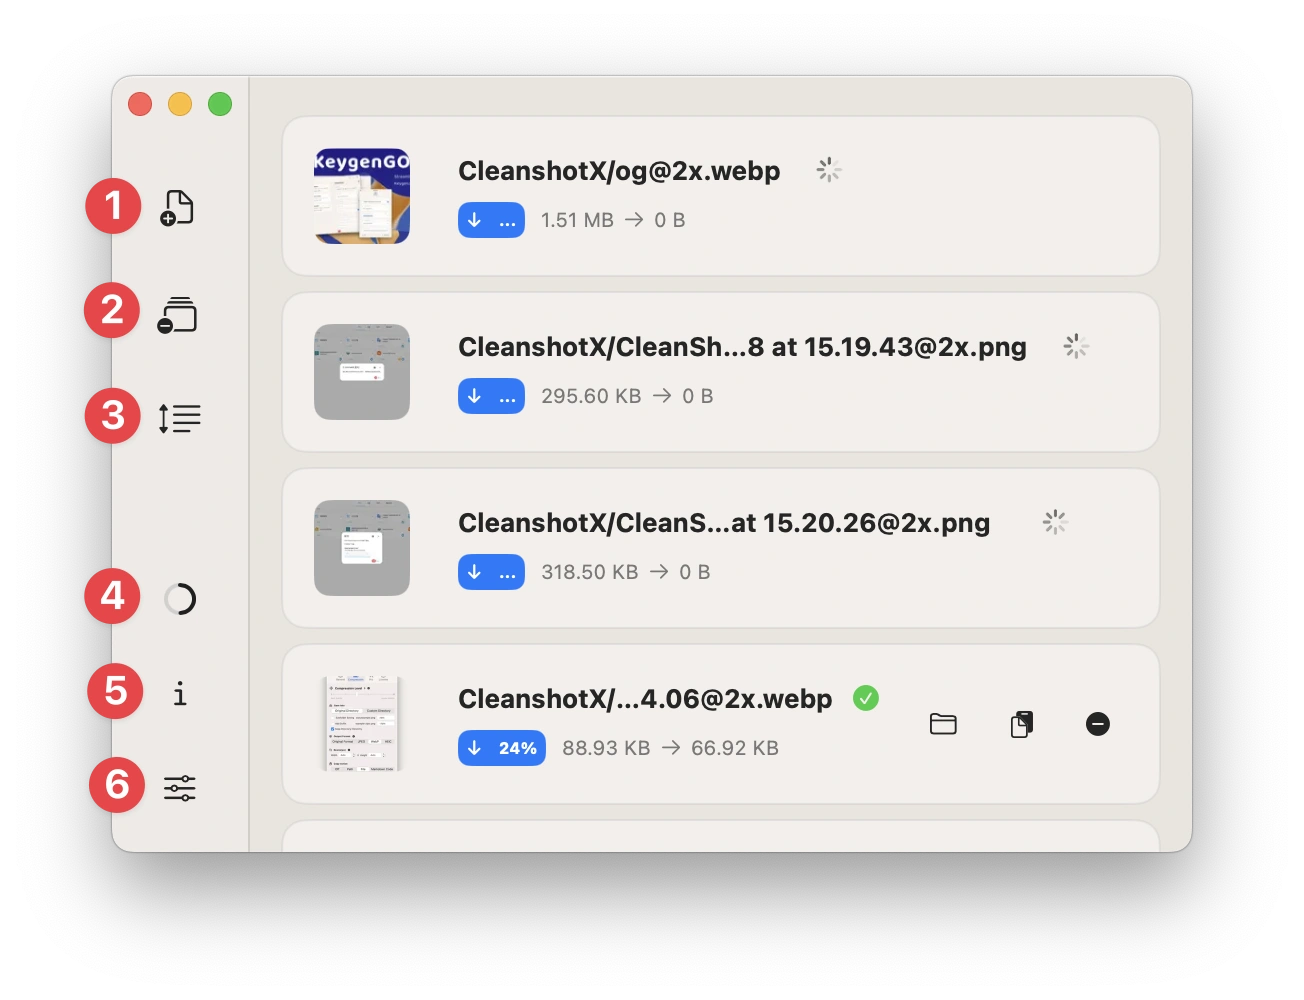
The left sidebar has 6 buttons with the following functions:
| No. | Button | Function |
|---|---|---|
| 1 | Select Image | Click to choose images for compression. Supports multiple images and directories. |
| 2 | Clear Records | Click to clear the compression history list. Visible only if there are images in the list. |
| 3 | Sort Order | Click to choose the list sorting method. Visible only if there are images in the list. |
| 4 | Task Status | Click to show detailed batch compression task status. Visible during image compression. |
| 5 | Statistics | Hover to show total image count and total saved space since app launch. |
| 6 | Compression Settings | Click to open a compression preset selection popup, supporting quick preset selection and management. |
The following video shows the functions of these 6 buttons:
Right Main Area
File Drop Area
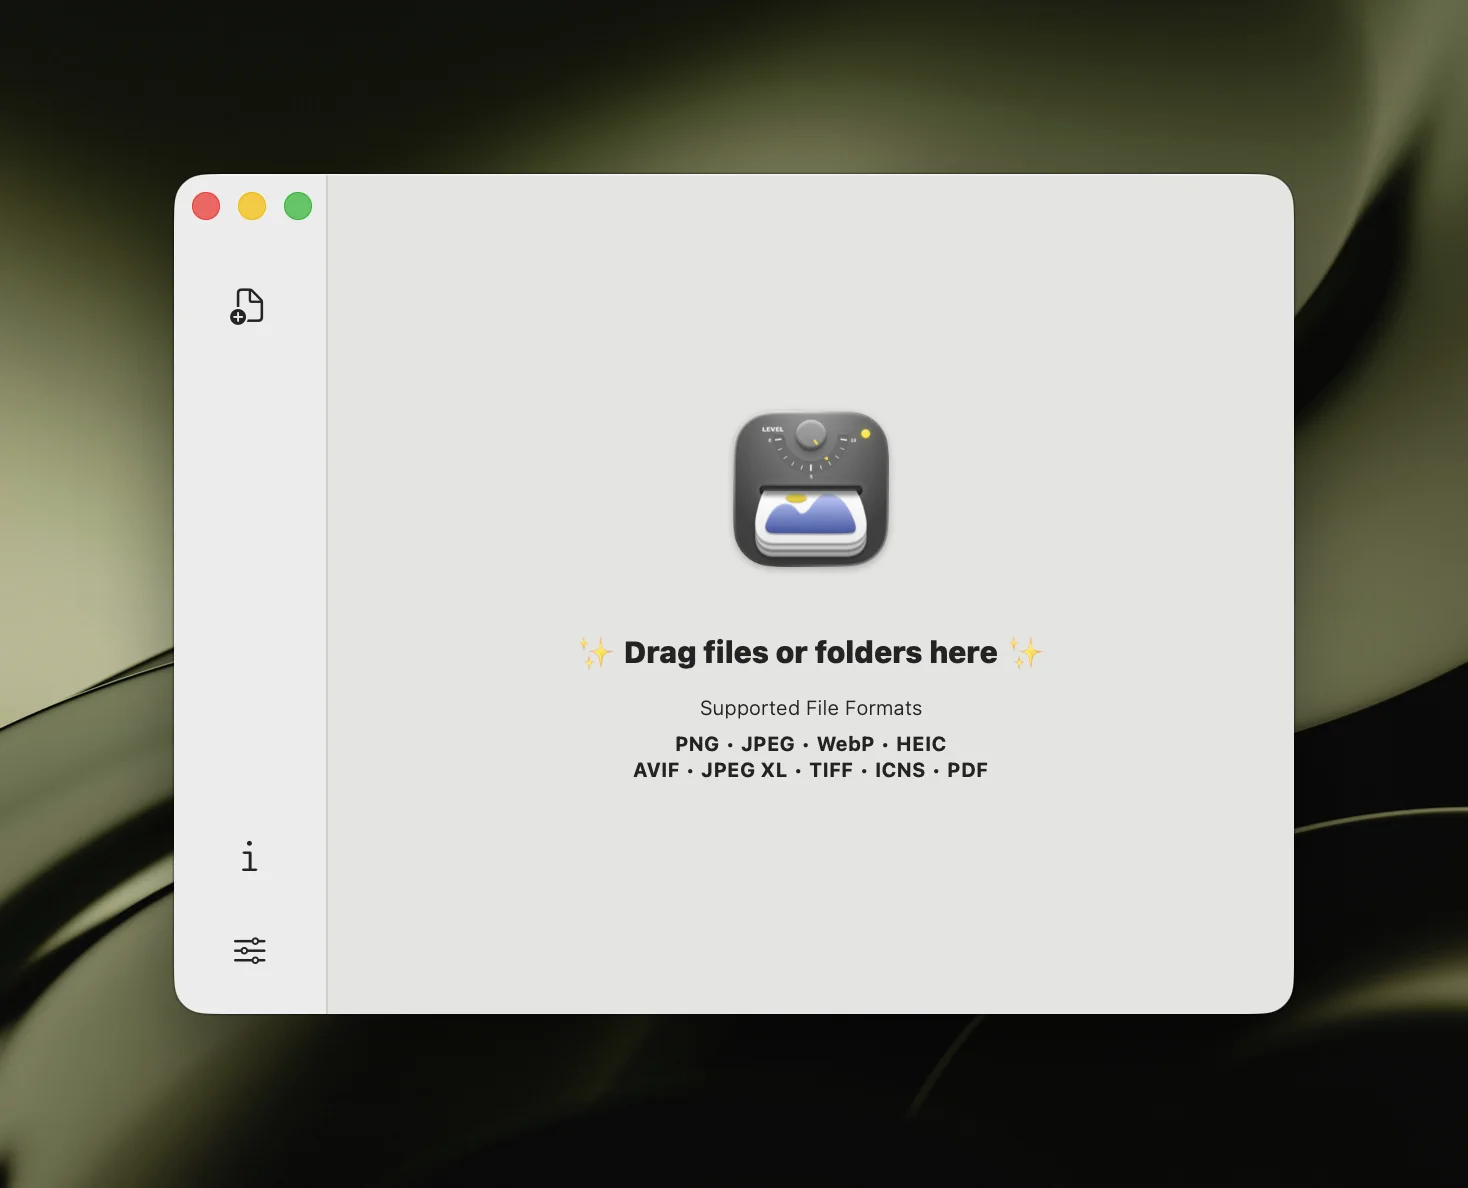
The entire area is a drag-and-drop zone. Supports dragging image files, folders, multiple files, and multiple folders. Files are automatically compressed upon dropping.
Image Compression Records
After compression, the history list shows in the right main area. Each image has a record with the following elements:
| No. | Element | Function |
|---|---|---|
| 1 | Thumbnail | Click to see a before-and-after comparison. Pro users get an enhanced comparison view with zoom, pan, and zoom controls. |
| 2 | Info Area | Shows format, name, status, compression ratio, and sizes before and after compression. |
| 3 | Action Buttons | Buttons to open the compressed image in Finder, copy, or delete the record. |
The following video shows the actions for a single compression record:
Settings Window
Like other macOS apps, there are two ways to open the settings window.
Click Zipic in the menu bar and select Settings.

Use the shortcut ⌘ + , to open the settings window.
Click the Zipic status bar icon and then the Settings button in the popup.
There are six settings tabs: General, Image, Workflow, Automation, Dependency, and License. The default tab is General. Below is an introduction to each tab.
General Settings
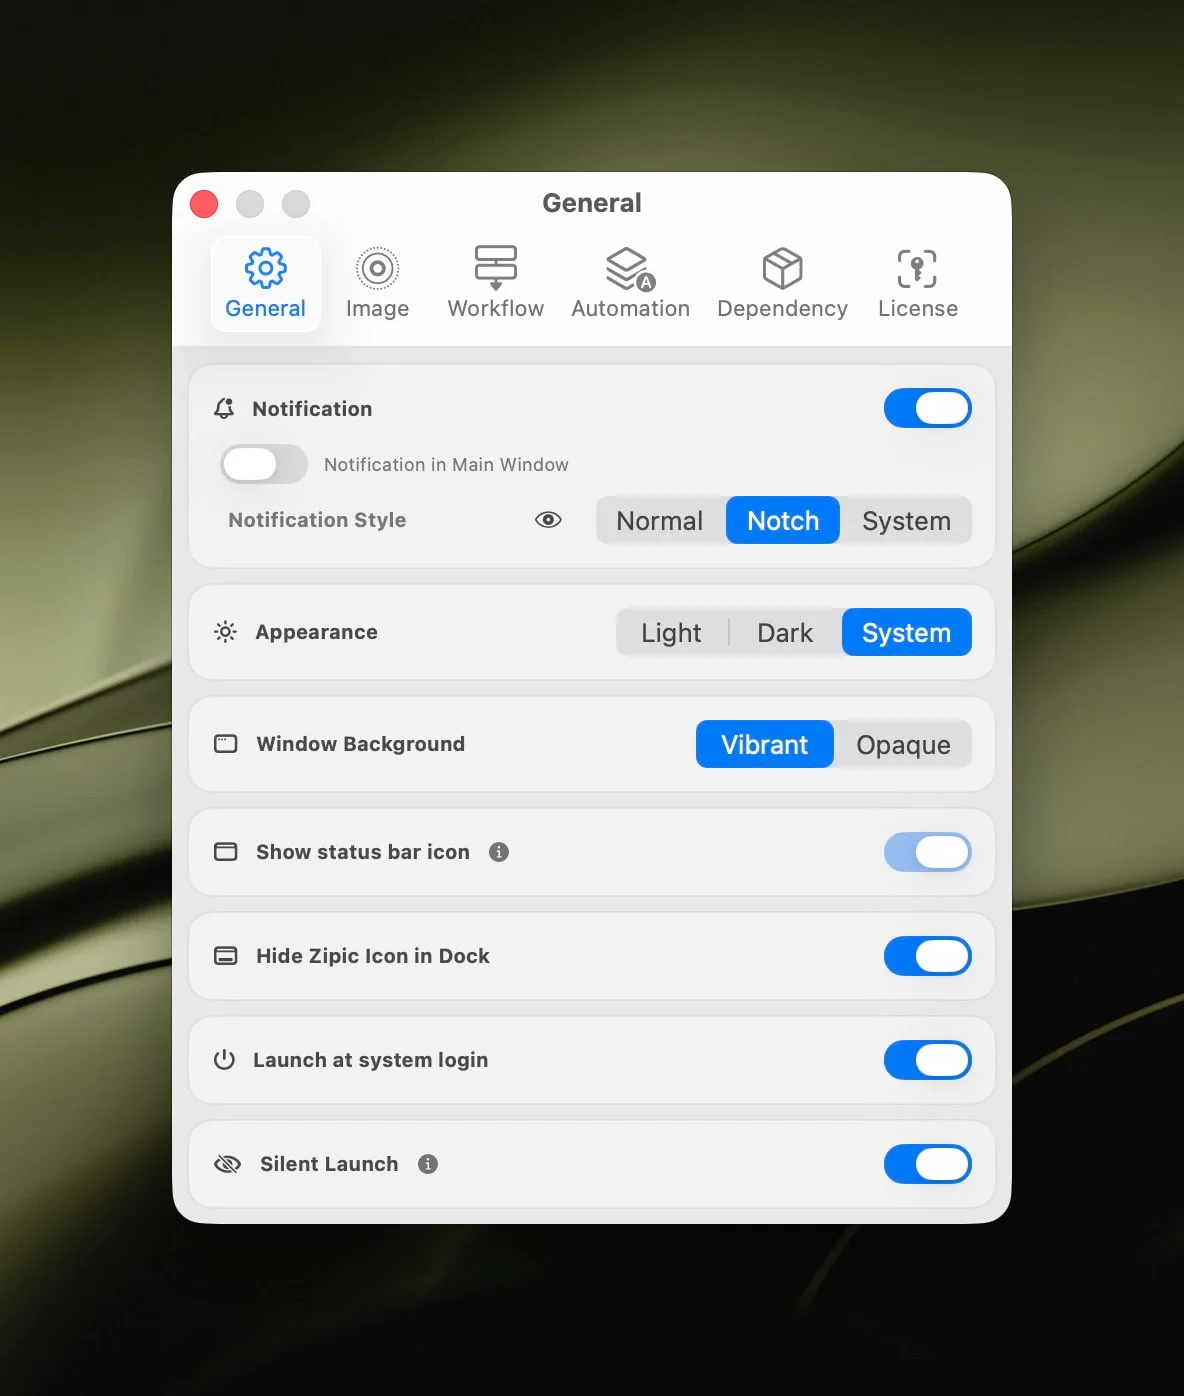
The General tab includes basic settings like notifications, theme, window background, status bar icon visibility, dock icon hiding, system login launch, and silent launch.
Image Settings
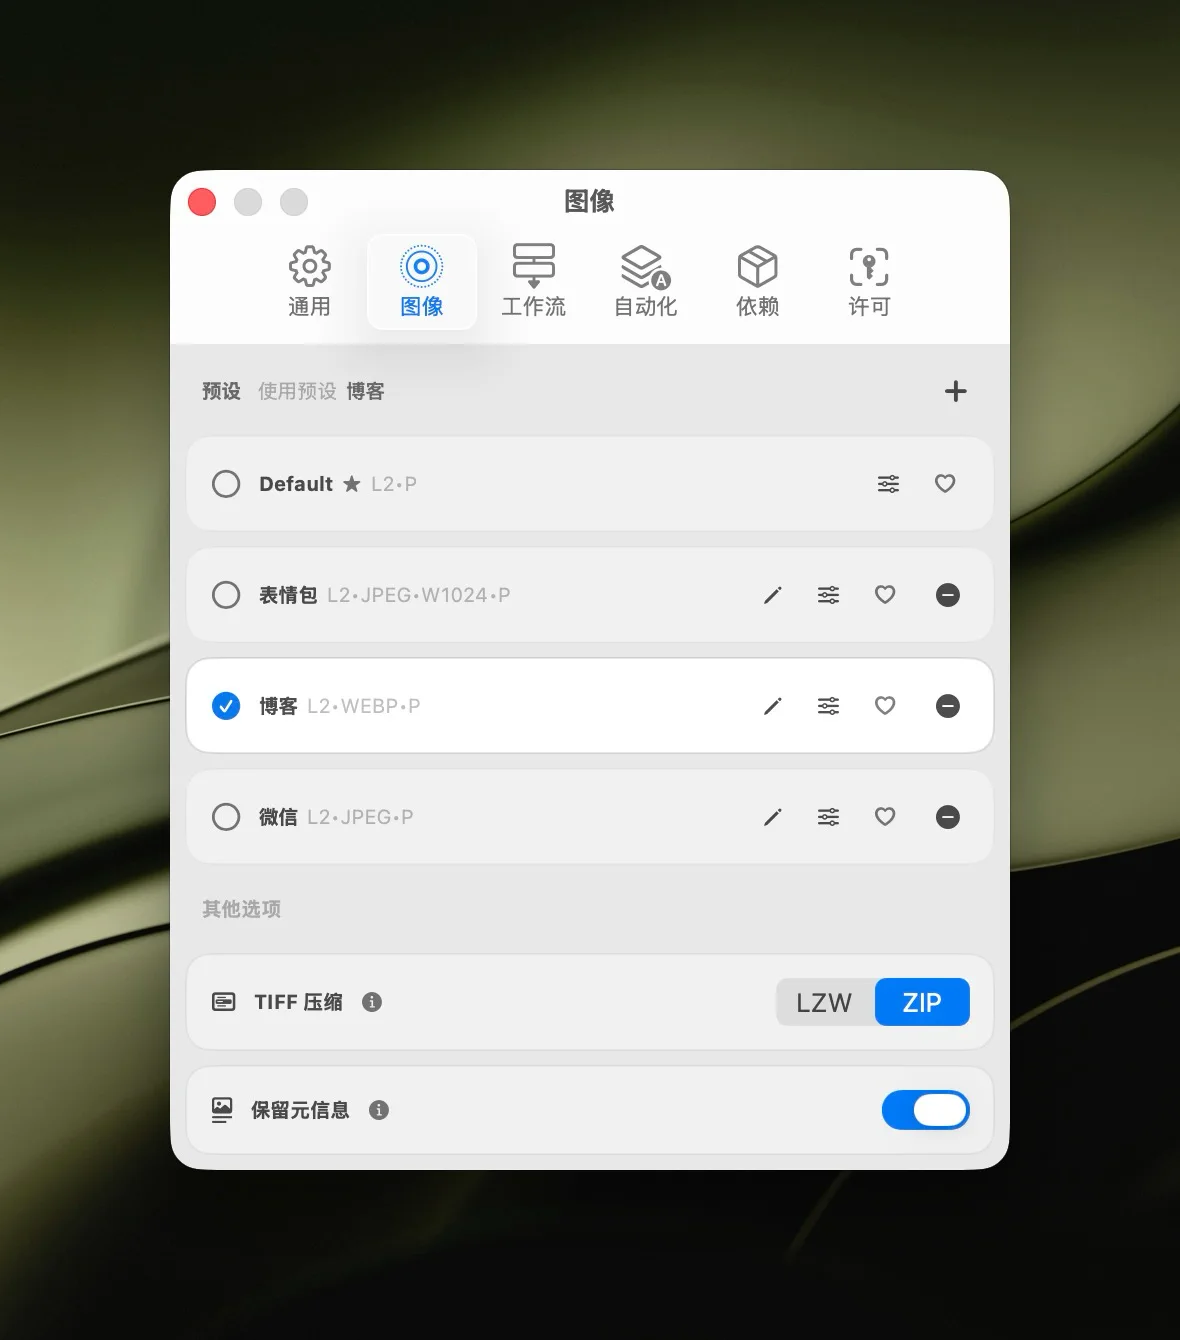
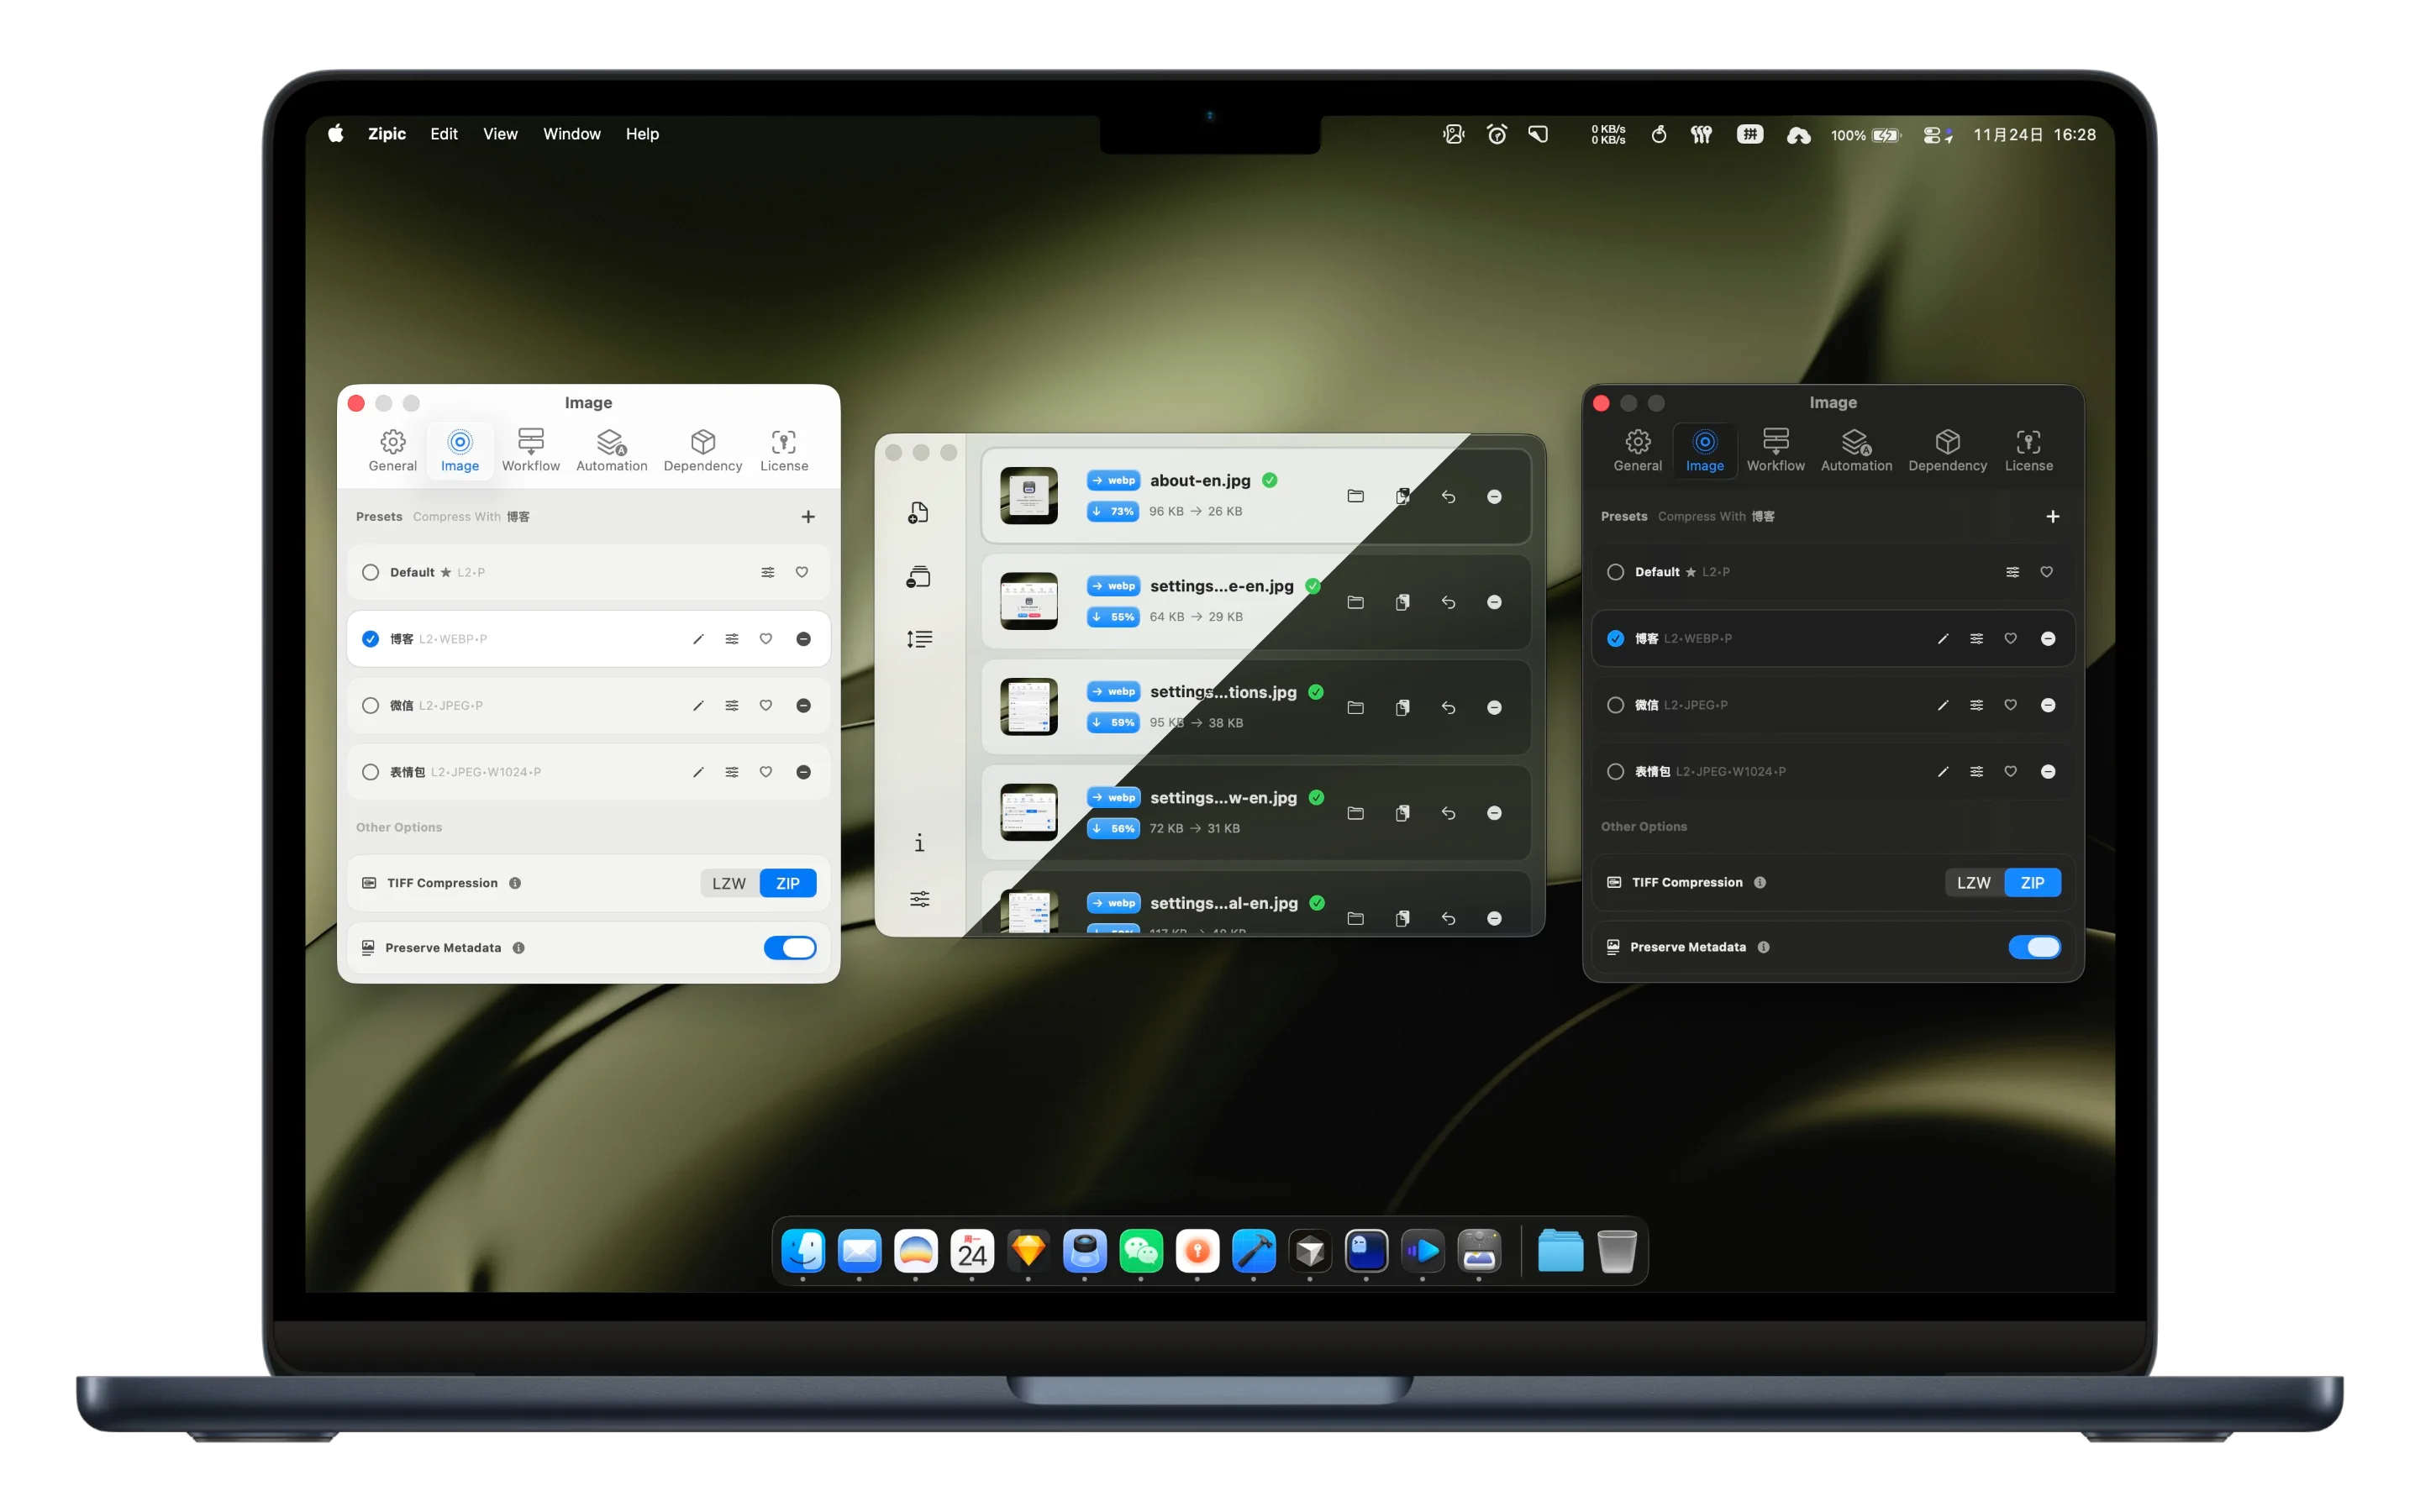
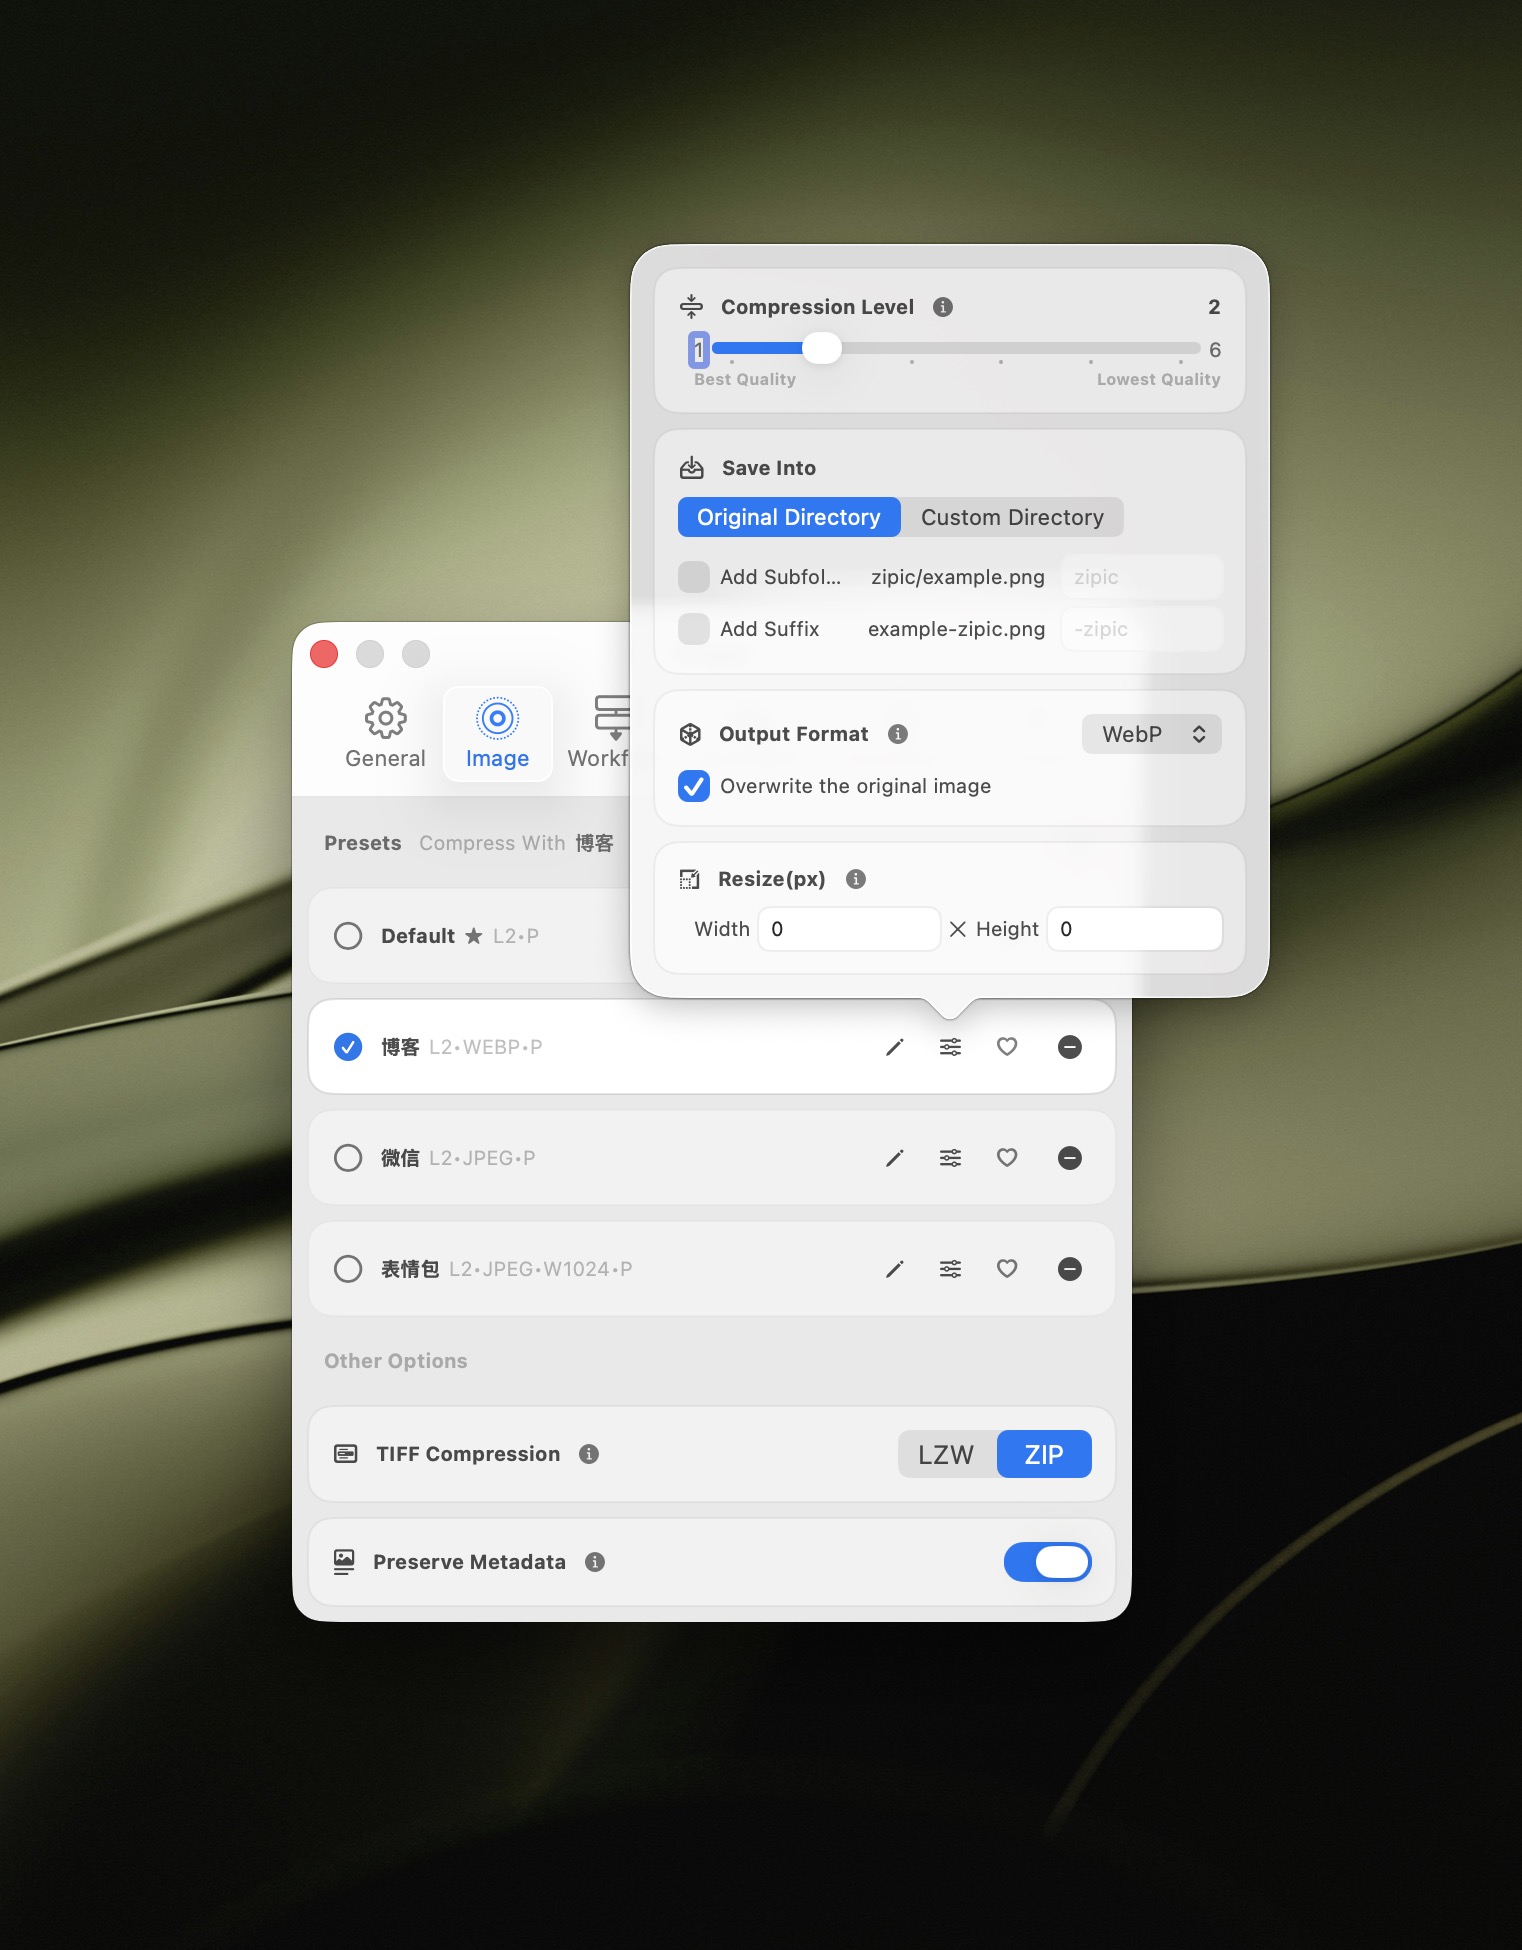
The Image tab is used to manage compression presets and image-related options. You can create, edit, and manage multiple compression presets, each with different compression levels, save formats, resize options, and more. You can also configure TIFF compression methods and whether to preserve metadata.
When editing a preset, you can configure compression options in the popup window:
Workflow Settings
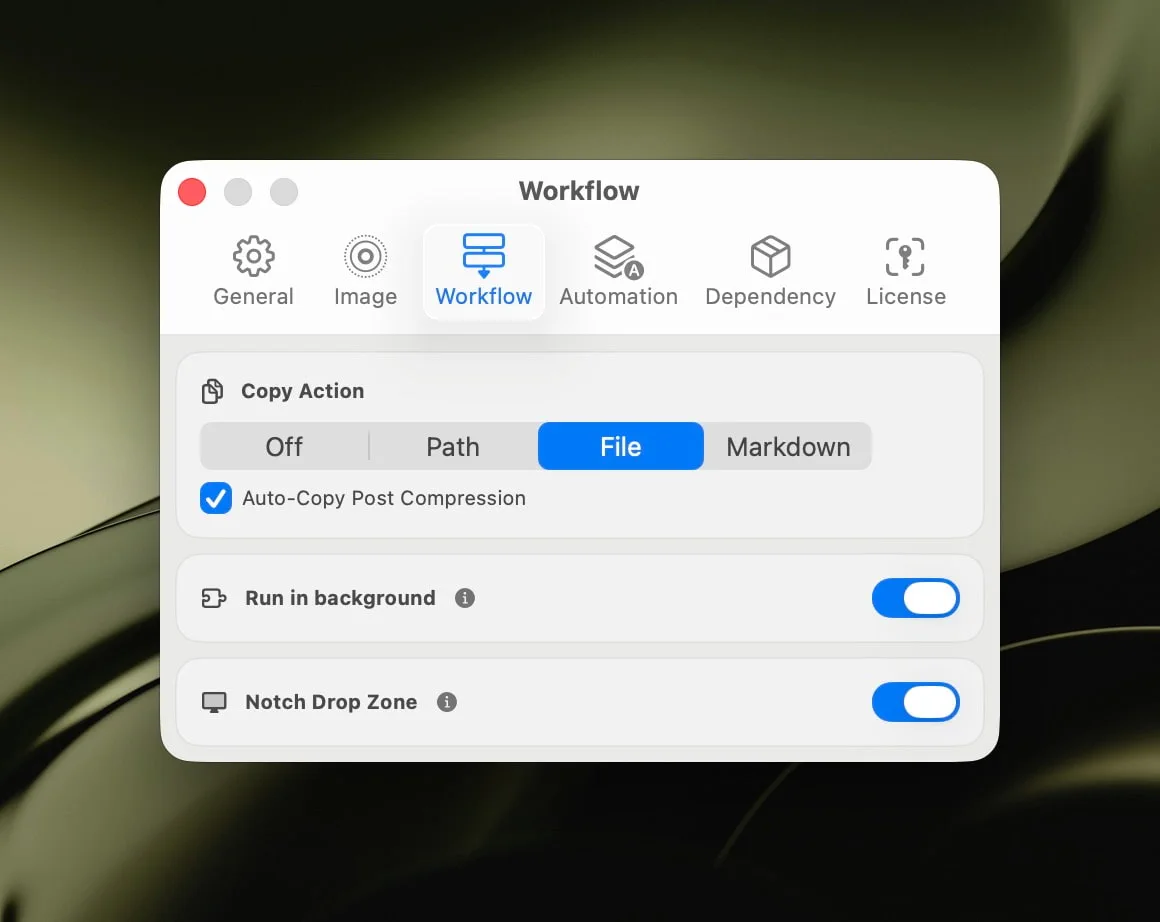
The Workflow tab is used to configure post-compression actions and automation behaviors. You can set copy actions (off, path, file, Markdown), configure auto-copy after compression, set background running mode, and enable drag-to-Notch compression.
Automation Settings
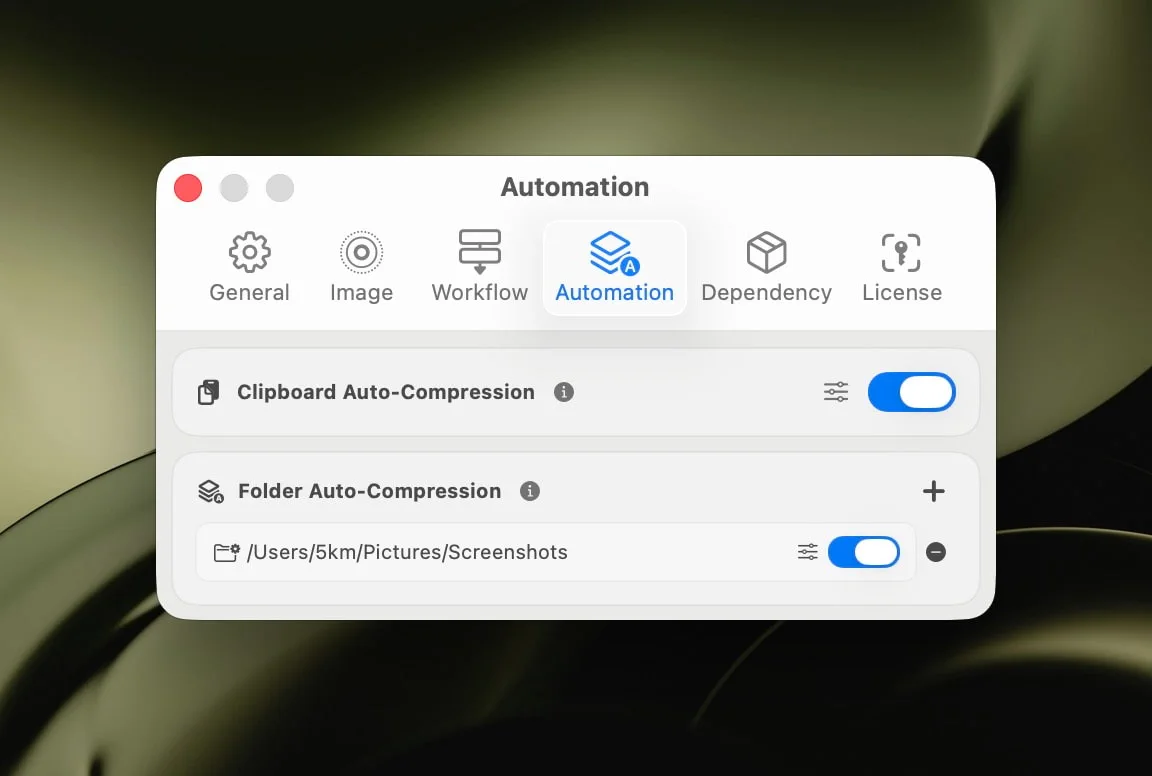
The Automation tab is used to configure automatic compression features. You can enable clipboard auto-compression, add folders for automatic monitoring and compression, and set independent compression options and monitoring depth for each monitored folder.
Dependency Settings
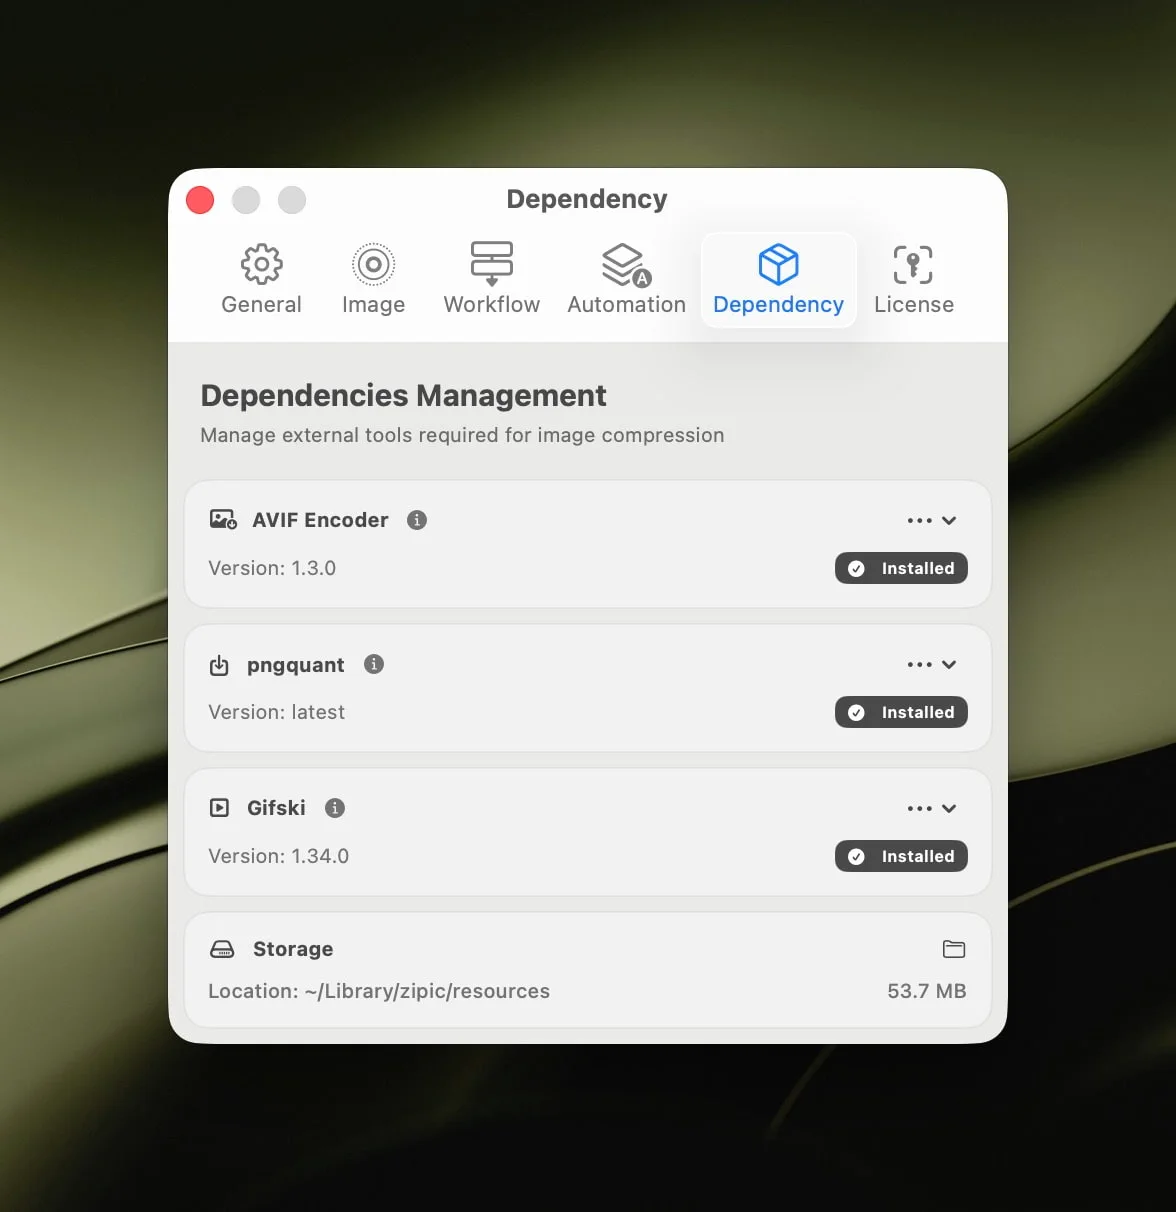
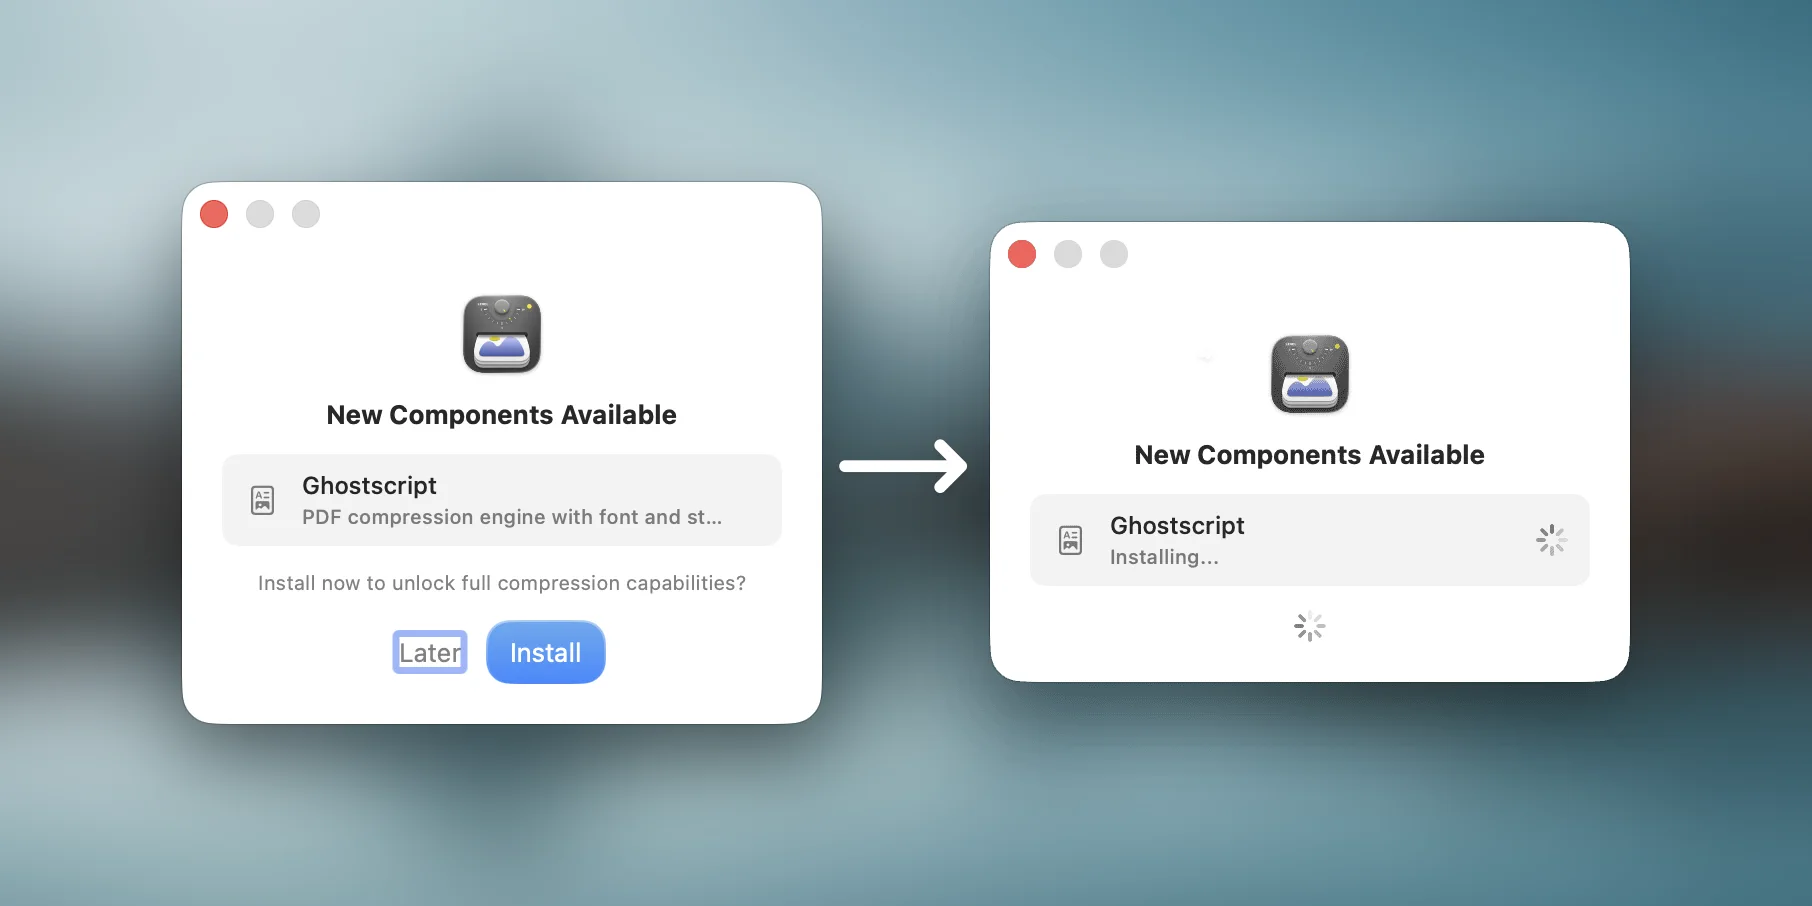
The Dependency tab is used to manage external tools required for image compression. You can view and manage the installation status and version information of dependencies such as AVIF encoder, pngquant, Gifski, and Ghostscript (for enhanced PDF compression), as well as view resource storage location and usage.
External tool installation uses an in-app guided window with download progress display and automatic retry, making the setup process smooth and reliable.
License Settings
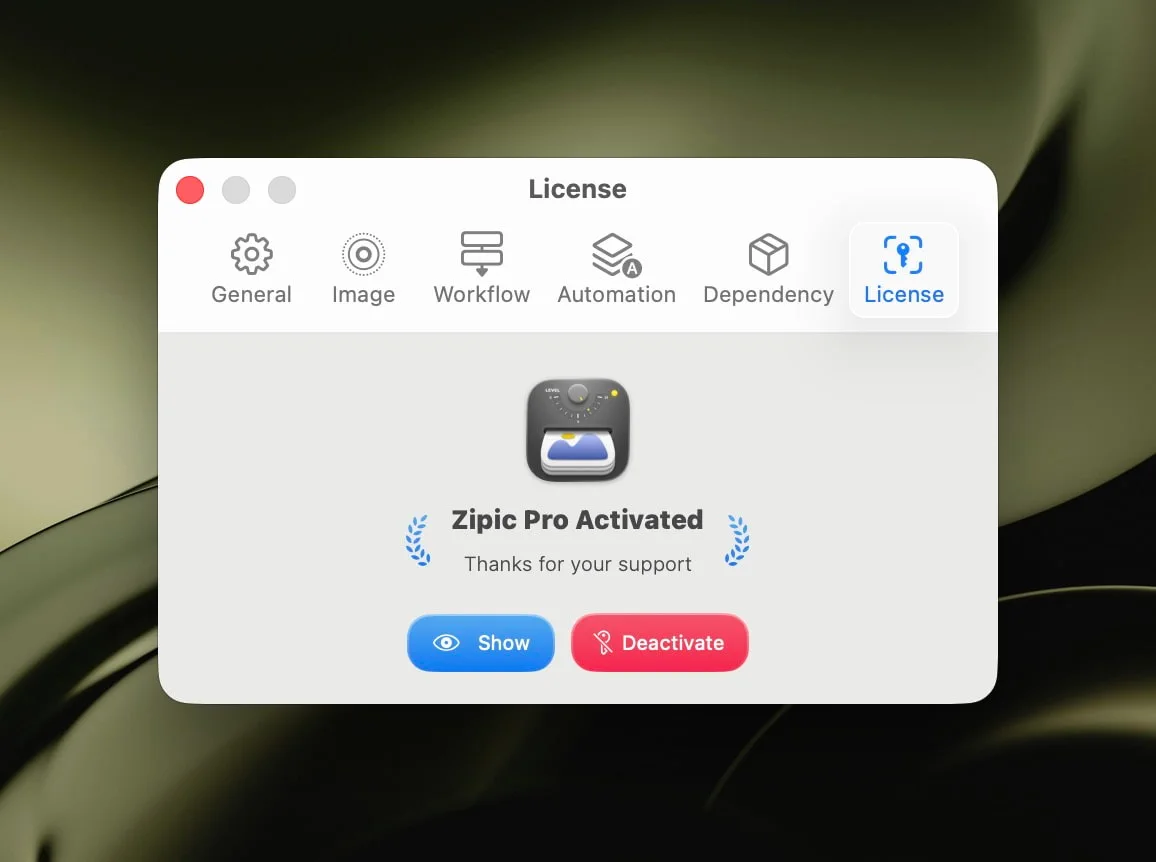
The License tab is used to manage Zipic Pro licenses. You can view license information, activate a license, and deactivate a license. Click Get Key to go to the Zipic official purchase page.
Status Bar Popup
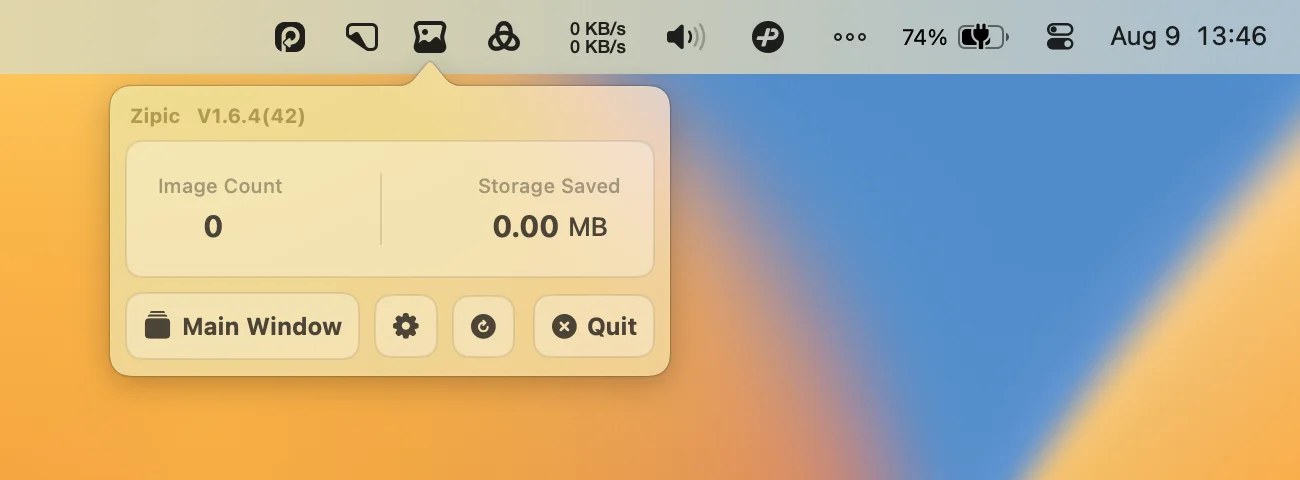
When Zipic is running, it also appears in the status bar. Clicking the icon brings up a popup like the one shown. When the dock icon is hidden, this will be an important entry point for Zipic.
The popup is simple, mainly containing version information, compression statistics, main window launch button, settings window launch button, check for updates button, and exit button.
Compression statistics display the total number of images and total space saved since the app was opened.
About Window
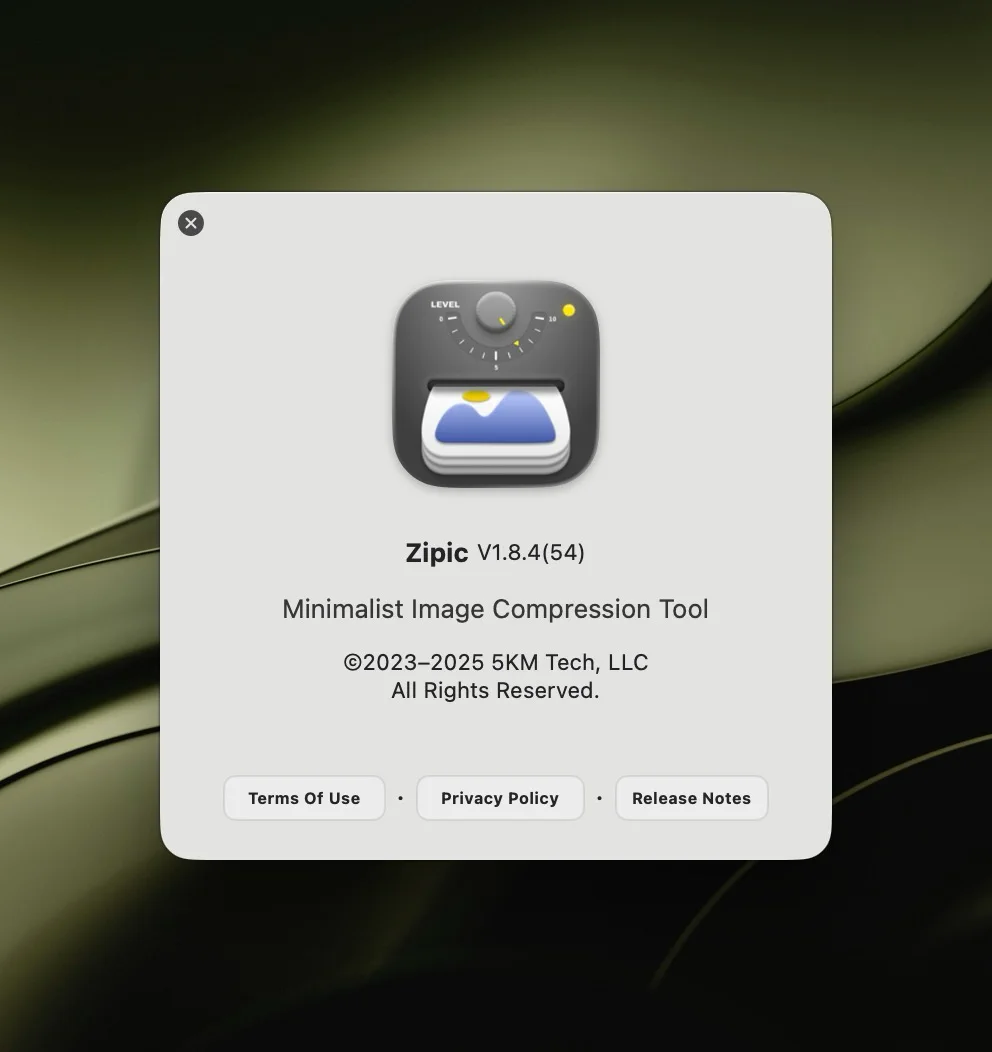
The about window contains the product name, version number, copyright information, and development team information. Clicking More Information will open the Zipic official website in the browser.
Color Theme
Zipic naturally supports both light and dark themes. It follows the system by default, but you can manually switch it in the settings window.